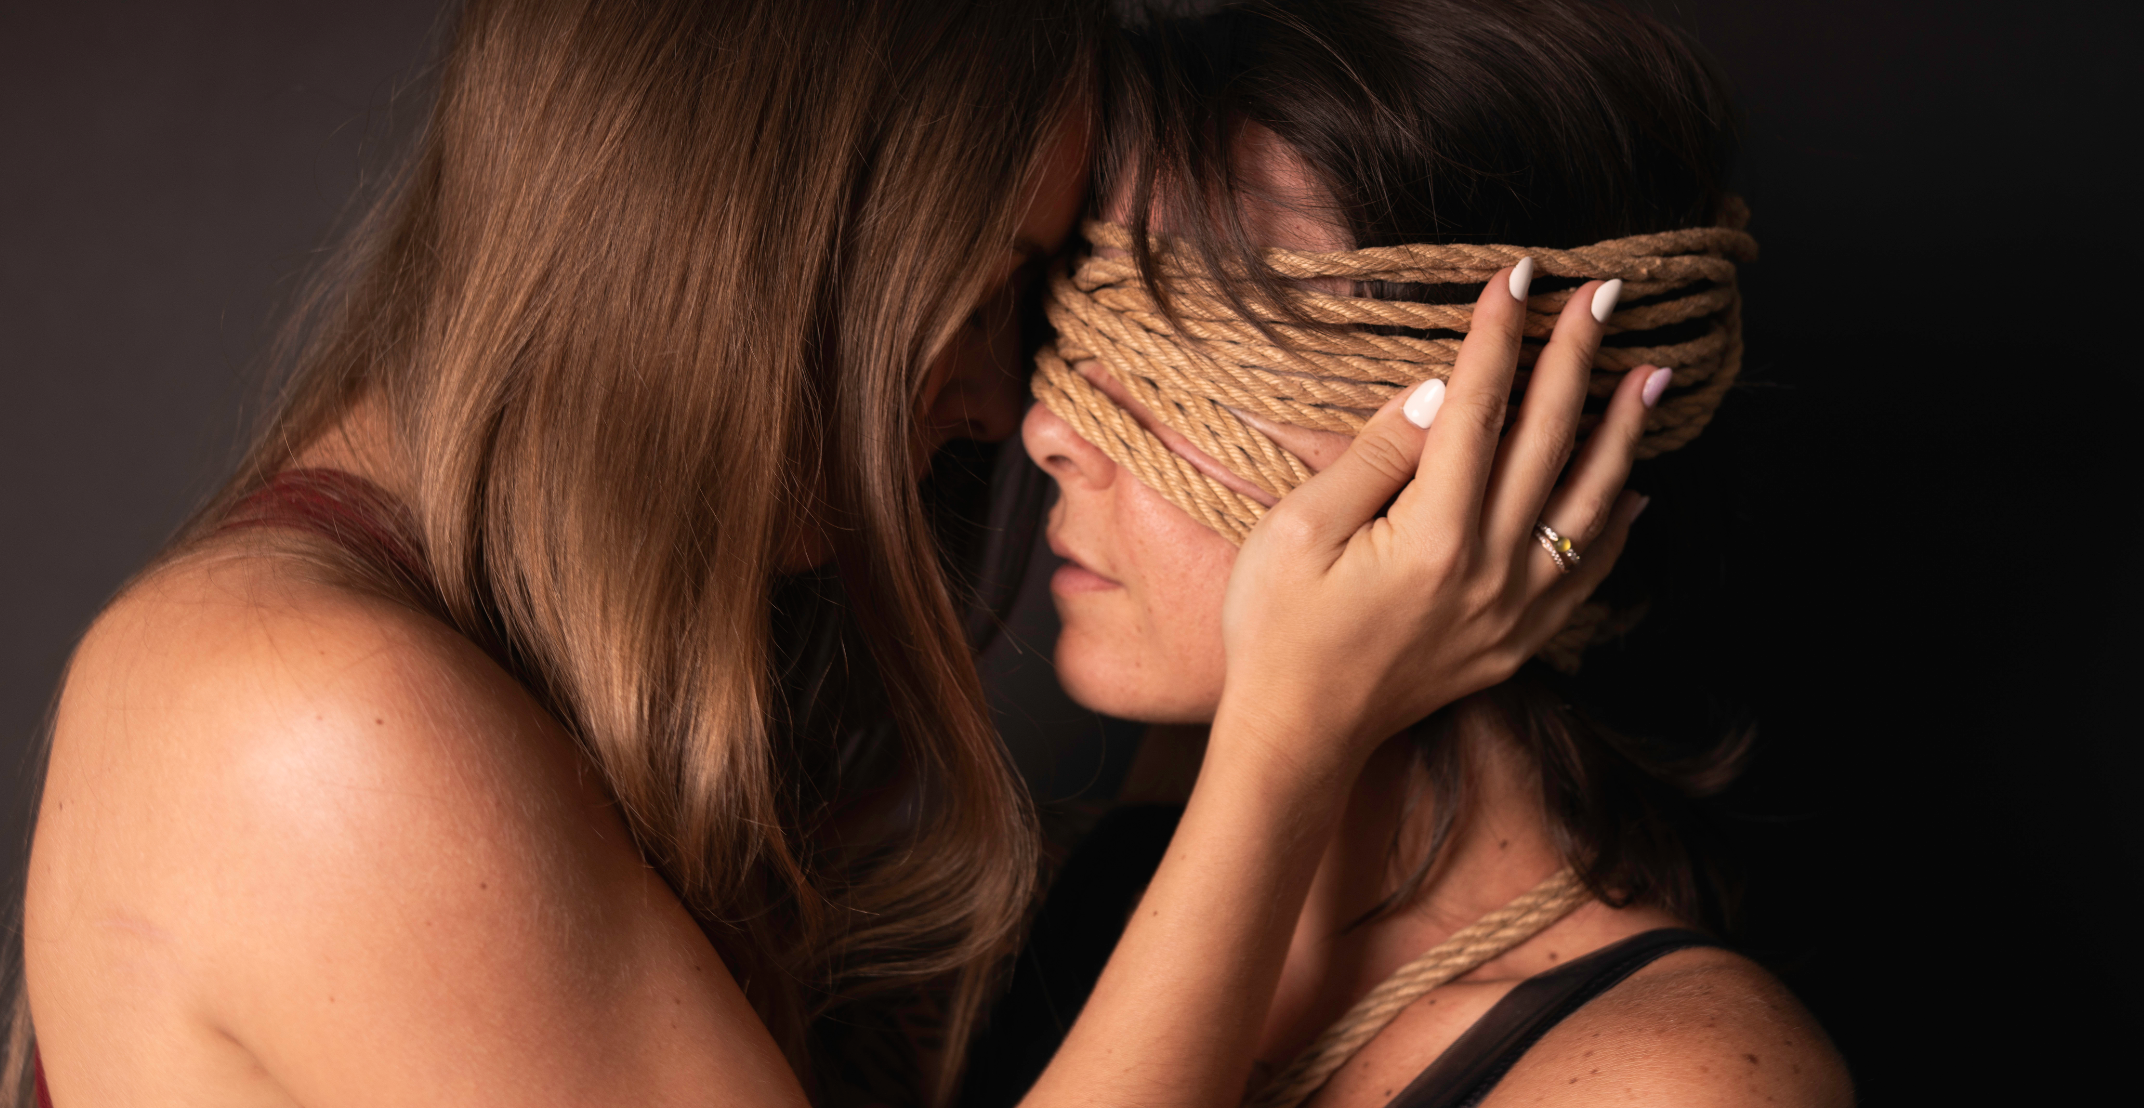
5 Essential Shibari Knots Every Rigger Should Master
If you're new to shibari, mastering these basic shibari knots is essential before diving into more complex harnesses. This knot guide will provide you with the foundational knowledge needed to begin your shibari practice confidently.
By learning these knots, you'll understand when and why to use them, making future ties easier and allowing for greater creativity.
To start your shibari journey with a comprehensive understanding, consider enrolling in our 7-day practice course. This course covers essential knots in detail, helping you build a solid foundation.
Before You Start:
Always have safety scissors on hand, just in case.
Use rope that is 6-10 meters long and 4.5-6mm thick. Avoid ropes longer than 10 meters to prevent tangling.
Traditional shibari rope is jute, but you can also use nylon, hemp, silk, cotton, and other materials. Read our blog post about ropes here
Leave space for 1-2 fingers between the rope and the skin to ensure comfort and safety.
When placing ropes close to each other, avoid leaving small gaps to prevent slipping and pinching.
The 5 Most Important Shibari Knots for Any Rigger
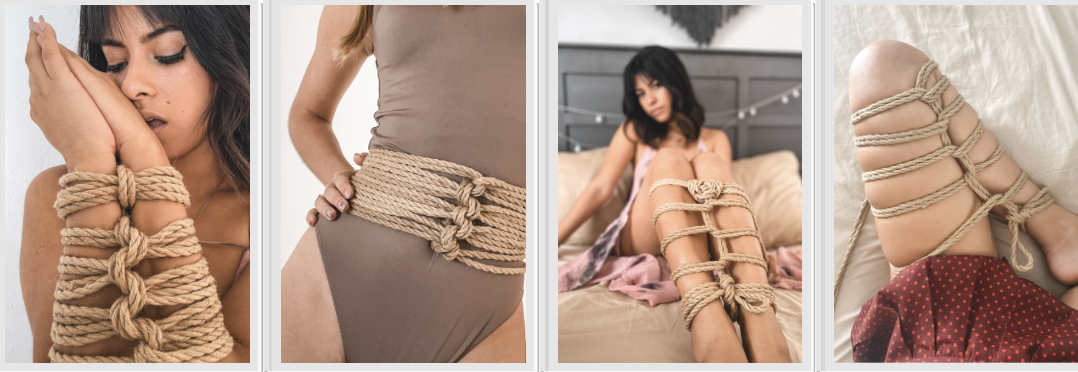
Knot 1: Single Column Tie
The single column tie is a foundational shibari knot that should never betray you!
As this knot is SO essential to know, we have a whole other blog dedicated to it!
Single Column Tie
Many shibari ties start with this knot.
It’s great for tying around one limb or more, allowing for flexibility in knot positioning.
Learn a non-self-tightening single column tie to avoid cutting off circulation.
Safe single column ties include the regular heart shaped knot (square knot) and the Somerville bowline. Square knot is collapsible, somerville bowline is non-collapsible.
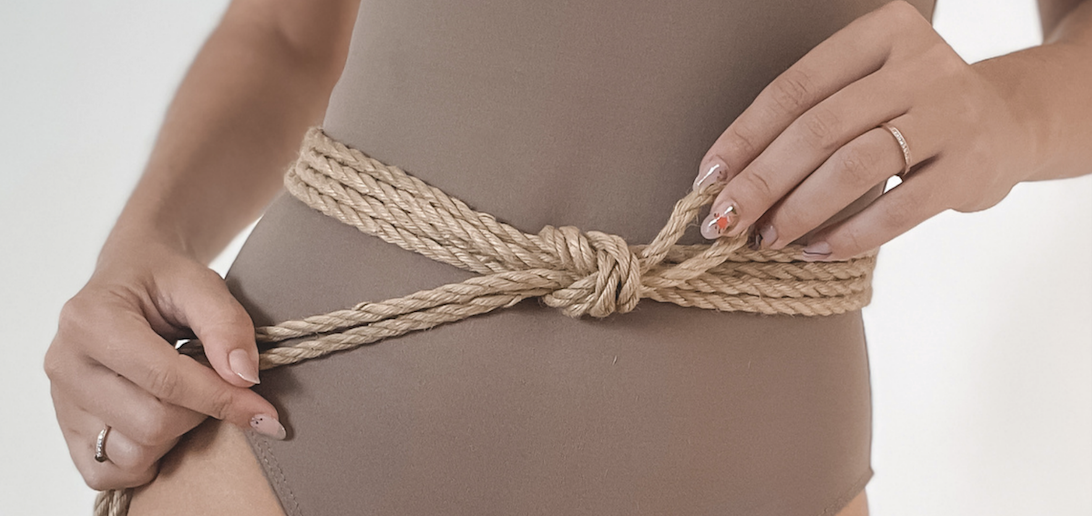
Knot 2: Double Column Tie
This double-column knot is perfect for connecting two things and adding a playful element to your ties. Check out our blog all about the double-column tie to learn how to tie it!
Nodome Corset
Ideal for connecting two limbs, and creating cuffs.
Great for playful shibari.
When you start to tie, leave some space between the limbs or objects you're tying, as you’ll tighten it later.
When tying, ensure both sides are equal.
Use this knot for stability and to prevent movement of rope around the limbs.
Knot 3: Rope Chain
Creating a Shibari rope chain is impressive and practical.

Rope Chain
Start by folding your rope in half to form a loop, or bight. Pull a section of rope through this bight to create a new loop. Then, continue pulling more rope through each loop to create a chain of interlocking loops. Repeat this until the chain reaches your desired length. To secure it, pull the loose end through the last loop and tighten.
This chain is easy to undo by pulling on the end and is perfect for shortening rope, decoration, or soft restraint.
It allows for a quick untie trick, with the ends and middle of the rope(the bight) in your hand immediately.
You can incorporate this into any design.
Avoid using this method if you don’t use rope often, as it may retain its shape.
Useful for washing your rope.
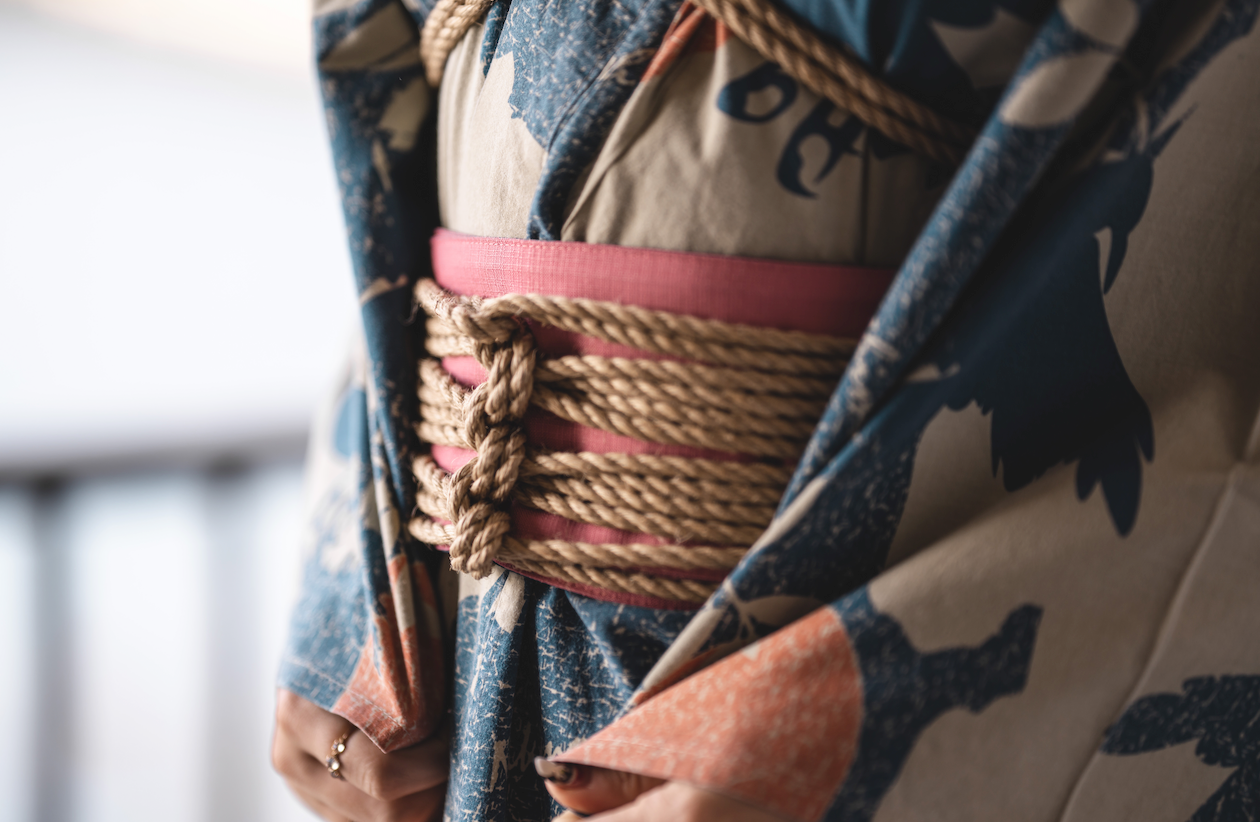
Knot 4: Flat Knots
Flat knots are brilliant for creating beautiful and comfortable harnesses.

Shibari Karada
For this knot, you simply pass each rope under the other, as if you would for that first step of tying a shoelace. It’s that simple!
They don't cut into the skin, making them perfect for harnesses.
Easy to hide under clothing.
Quick to make, especially useful for full-body harnesses.
Use them for a hishi karada, one of the most well-known shibari ties.
Try the double coin knot for a more complex but still flat option.
Watch tutorial here=)
Knot 5: Ladder Tie (Counter Tension)
The ladder tie helps you understand tension and friction, crucial elements of shibari.
Ladder Tie
Start by anchoring the rope with a single-column or double-column tie around the body part you wish to tie. From there, create horizontal loops across the body, pulling the rope tight and crossing it back over the anchor rope line each time to maintain counter tension.
Repeat this process, stacking loops like ladder rungs while keeping the tension consistent to hold the rope structure securely. Once you reach the desired effect, secure the end by tying it off or tucking it under the final loop.
Amazing for full body tying
Great for self-tie practice. Practice tying yourself to find the appropriate tightness for holding and comfort.
The ladder tie helps you feel and maintain tension.
Experiment with different frictions and body parts to see how they hold the rope.
You can place the ladder steps close together or far apart to make interesting visual differences
Knot 6: Nodome / Munter Hitch
Decorative and functional, the nodome knot is a must-know.
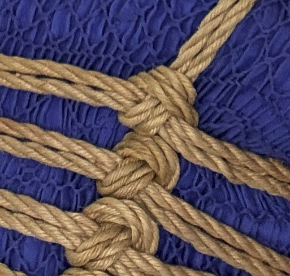
Nodome Knots
A nodome works best when ‘joining’ two ropes that pass over one another at a perpendicular angle. As the rope passes over the other, take it around the original rope, in a circular way, almost weaving the rope under and over as you go around, until you reach the original direction of the rope.
The result should be a compact, decorative knot that serves as a stopper or a finishing touch for other ties.
It allows you to change the direction of your rope and create tension with perpendicular ropes.
Flat and comfortable for your model.

Nodome Corset
Start Your Shibari Knot Journey Today!
In our beginner's shibari course, you'll learn all of these shibari knots and more, giving you the skills you need to start experimenting on your own.
Enroll now and begin your journey into the art of shibari., one knot at a time!

Written by
Anastasia
I feel that it's time to share my approach to shibari with you! I have been discovering shibari for myself for 6 years, constantly learning and developing my own style.