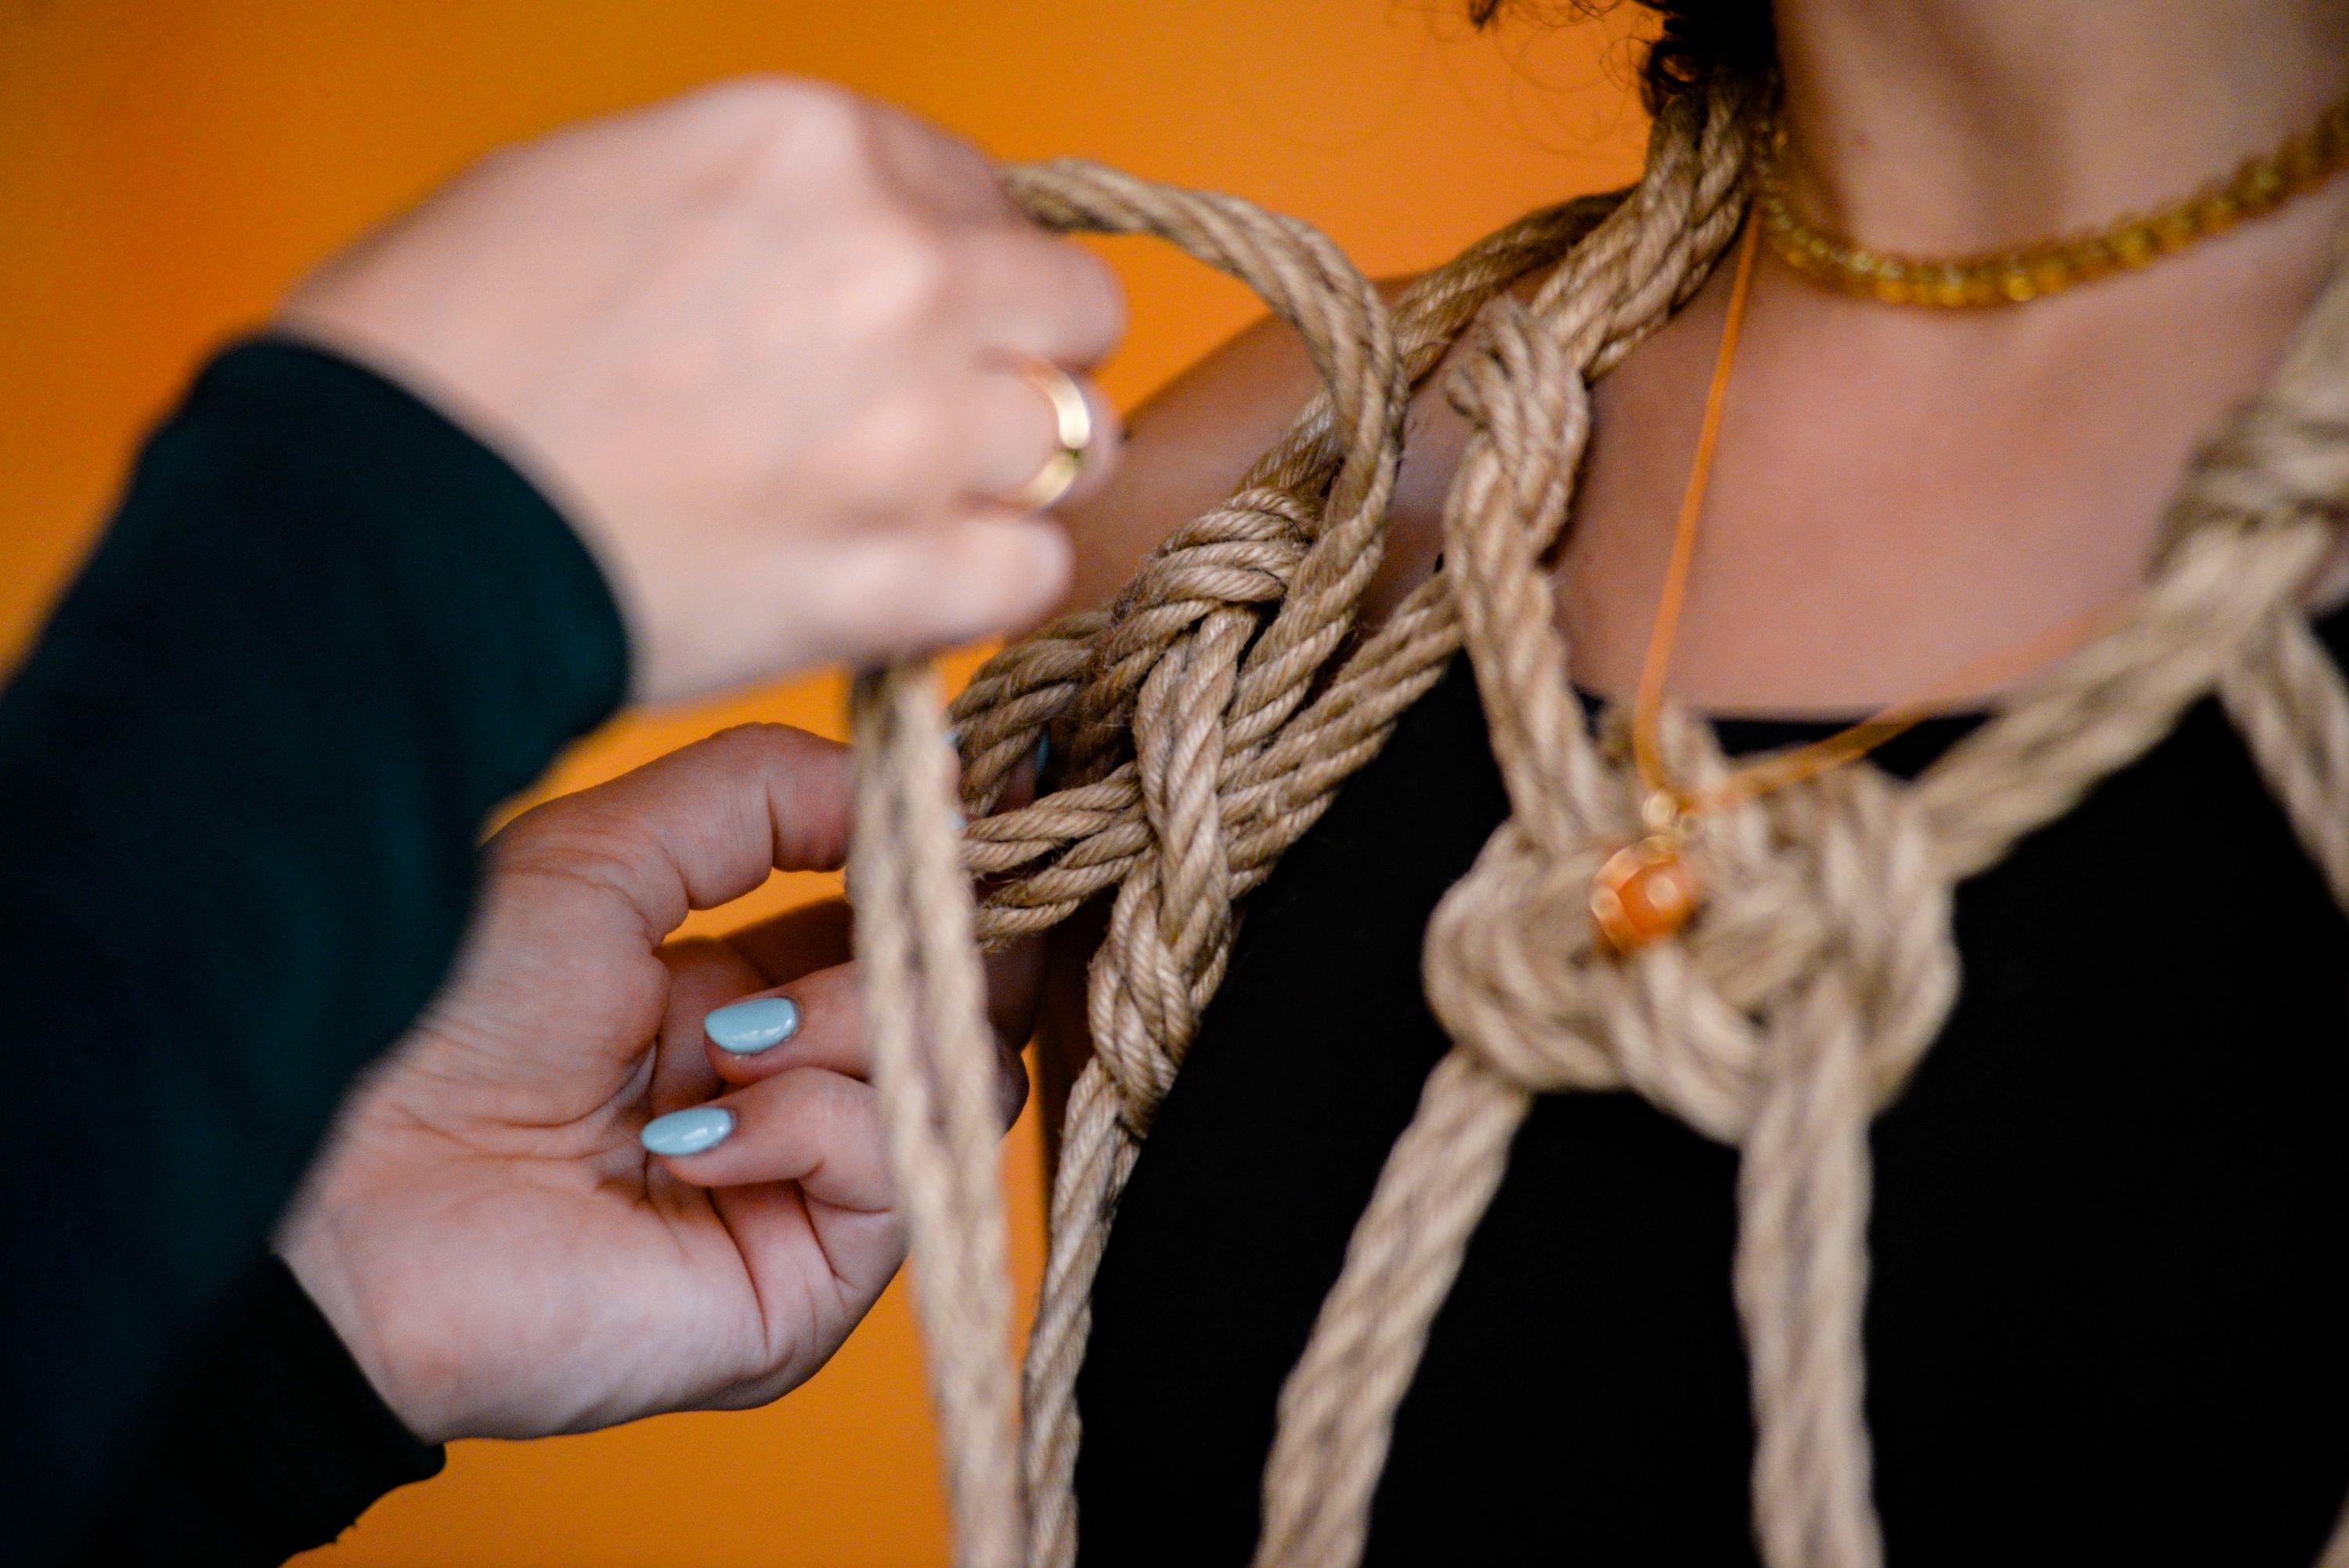
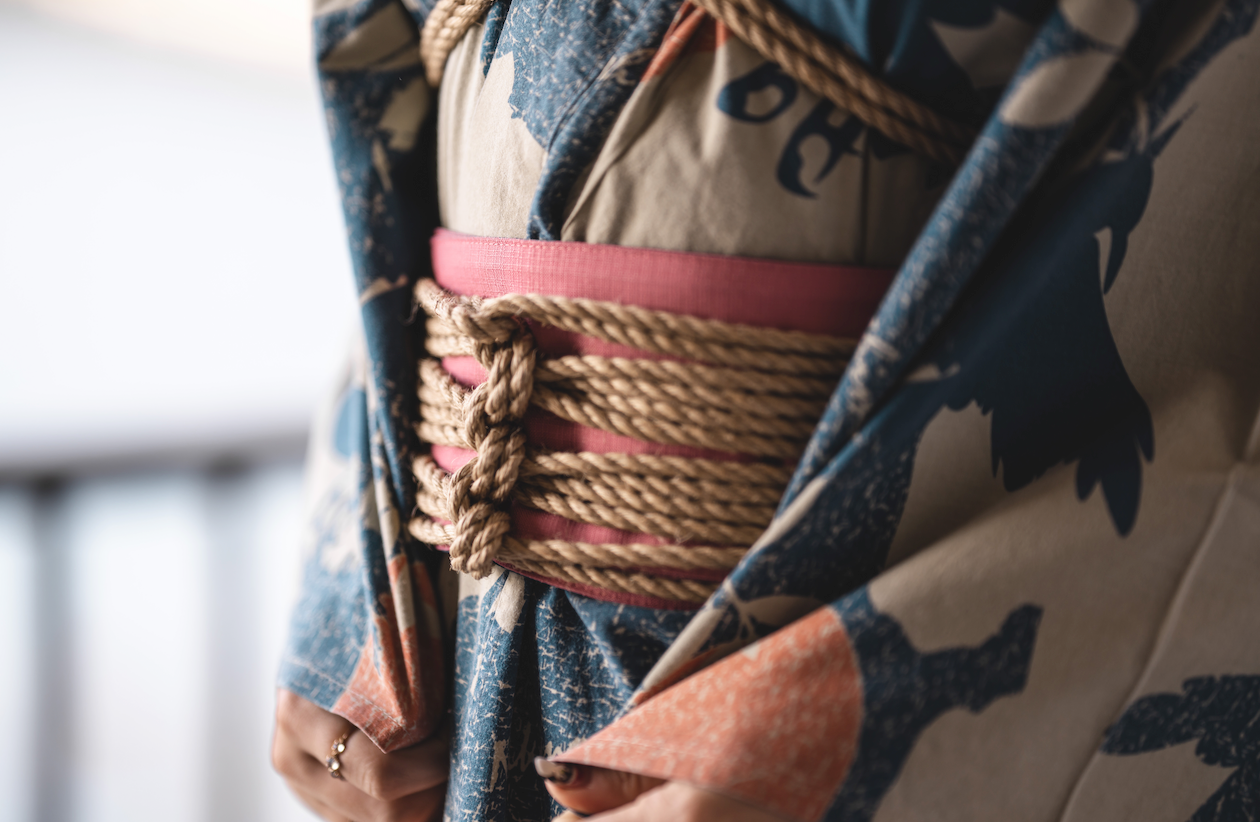
Shibari Knots and Ties by Name: A Practitioner's Visual Glossary
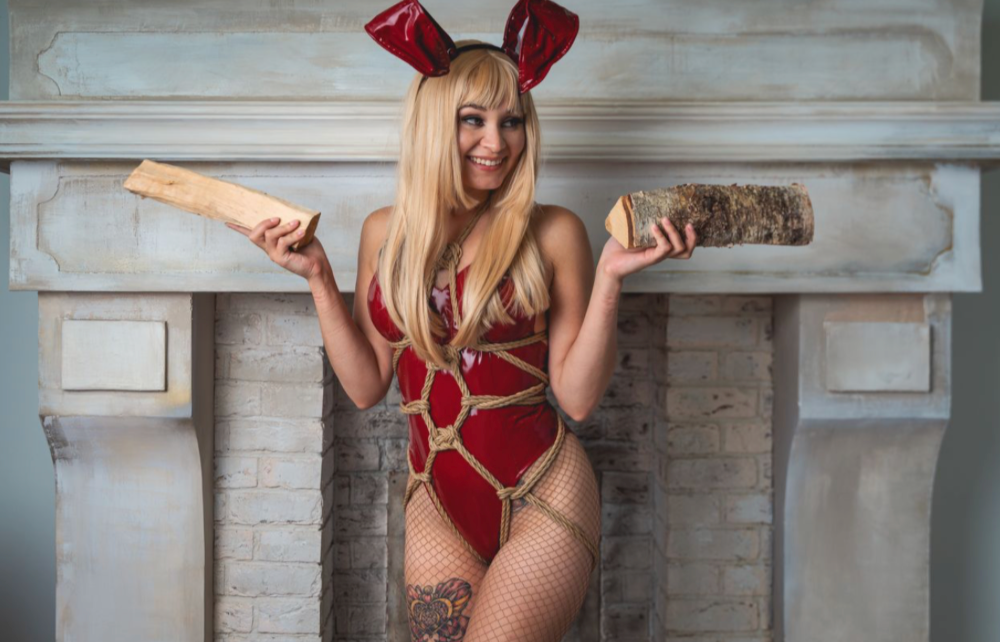
"Anastasia, what is this knot called?!" - I hear this question in every class, under every video, at every rope jam. And I get it! Shibari names are a mix of Japanese words, English nicknames, and community slang, and when you're starting out it can feel like everyone around you speaks a secret language. Especially if you are constantly traveling.
So I finally sat down and made the page I always wanted to send my students: one glossary of the knots and ties I actually use and teach, with their names in English and Japanese, what each one is for, and where you can learn to tie it. Not just a scraped list from the internet - this is my working vocabulary, straight from my curriculum.
(A small disclaimer before we start: names in shibari are not standardized! Different schools and different countries may call the same knot different things. If your teacher uses another word - that's fine, there is no single 'right way'. I'll give you the versions I hear most often.)
First, a Tiny Bit of Japanese
Shibari 縛り - from the verb shibaru, to tie. Kinbaku 緊縛 - the art of tight binding. (Is there a difference? Japanese teachers say no, Westerners argue.)
Musubi 結び - knot. You'll see it in names like kanou musubi.
Nawagashira 縄頭 - the middle of the rope, what we call the bight. This is where almost every tie begins.
Nawajiri 縄尻 - the working end, the tail of the rope.
Learn these four and suddenly half of the tutorials out there make sense! (I collected more terms in my shibari vocabulary post, if you want the full dictionary.)
The Knots: Your Building Blocks
Here's a secret my students hear from me all the time: you don't need to know every intricate knot. Shibari is built from a surprisingly small set of knots, repeated with good tension and intention. Master these, and every complicated-looking harness becomes readable.
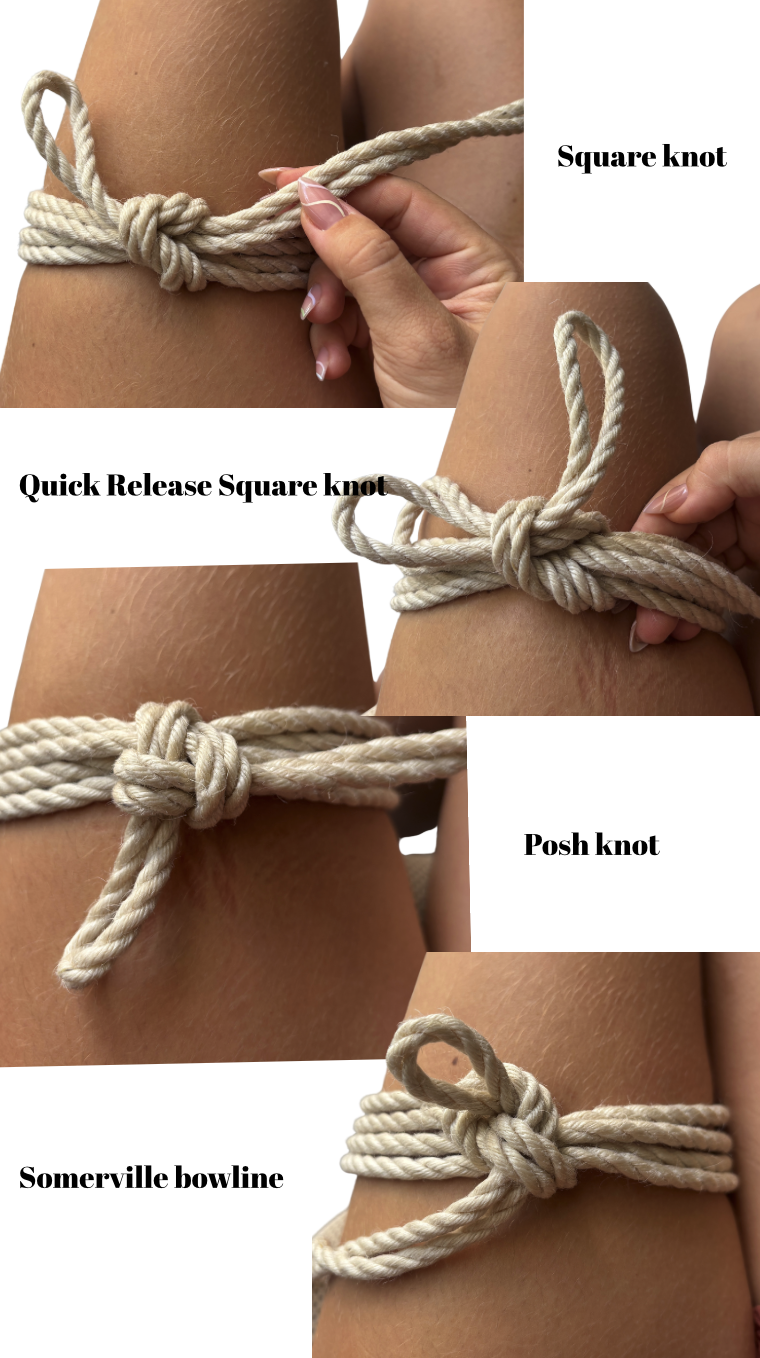
Single Column Tie
The very first knot you should learn, and the one that should never betray you. It ties around one 'column' - a wrist, an ankle, a thigh - and it must not tighten on its own, ever. So many ties begin here that I wrote a whole step-by-step single column tie tutorial just for it.
Three options I use:
Square knot version (Honmusubi) - the classic. Done right, it looks like a little 'heart'. If it doesn't look like a heart, you did something wrong - untie and try again! It is collapsible if you pull hard.
Honmusubi quick release option
Posh knot - non-collapsible single column that I love, since it is very easy to undo . (the name we use in my studio, I never found out if this knot has a normal name)
Somerville bowline - the non-collapsible cousin. Same job, holds its shape under more pull.
Double Column Tie
Two columns, one knot - two wrists together, a wrist to a thigh, an ankle to a bedpost (I'm not judging! ;). It creates cuffs and connections, and it's the heart of playful shibari. Leave a little space between the limbs when you start, keep both sides even, and check my double column tie guide for the details.
Half Hitch
The humble workhorse. A simple wrap-and-lock that lets you change direction, hold tension, and build structure. You'll find half hitches hiding inside almost every harness I tie - diamond chest harnesses, karada variations, everything.
Nodome のどめ (Munter Hitch)
My favorite little decorative-functional knot. A nodome 'joins' two ropes crossing at a perpendicular angle - you weave around the original rope until you're back on course. The result is compact, flat, and comfortable for your model, and it lets you change the direction of your rope while creating tension. I use nodomes constantly in chest harnesses and karada designs.
Flat Knots and the Double Coin (Ayatsunagi あやつなぎ)
Flat knots are exactly what they sound like - each rope passes under the other, like the first step of tying a shoelace. It's that simple! They don't cut into the skin, which makes them perfect for harnesses and for anything hidden under clothing.
The fancy member of this family is the double coin knot, also called the pretzel - ayatsunagi in Japanese. Decorative, flat, and gorgeous in the middle of a karada.
There's also the kanou musubi 叶結び - a decorative square knot - if you want to add a traditional Japanese flourish.
Rope Chain (daisy chain)
Loops pulled through loops until you have a chain. It looks impressive, unties in one pull (the quick-release trick every rigger secretly loves), shortens rope beautifully, and is even useful for washing your ropes! One caveat: if you don't use your rope often, the chain can leave its shape in the fibers.
All of these building blocks - with photos - live in my post on the 5 essential shibari knots every rigger should master.
The Ties: Patterns on the Body
Knots are letters; ties are words. This is where the rope starts to speak.
Ladder Tie (Counter Tension)
Stacked horizontal loops, like ladder rungs, held by counter tension against an anchor line. This tie is a tension teacher - lose the tension and the whole thing slips, keep it and the structure holds beautifully. It's also wonderful for self-tie practice: tie it on yourself and you'll finally understand how your model feels the rope. (Your body will tell you the truth faster than any tutorial!)
Karada 体 - the Full Body Diamond
Karada means 'body' in Japanese, and this is probably the most famous shibari tie ever. The classic version is the hishi karada - the diamond-patterned rope 'dress' that everyone pictures when they think of shibari. Tied correctly, it puts no tension on the neck, which makes it wonderfully beginner-friendly - and endlessly customizable. One rope, two ropes, woven variations, double coins in the diamonds... I walk through four versions in my karada tutorial.
Dragonfly
The first tie I ever learned, and it quickly became my favorite - a chest-and-arms design with wing-like wraps. Visually impressive, relatively easy, endlessly customizable. But: not for suspension. It simply doesn't have the structural integrity for it. Floor and photos only, please!
Gote / TK (Takate Kote 高手小手)
THE classic Japanese box tie: arms folded behind the back, chest wrapped. You'll hear it called gote, TK, or takate kote - all the same family. It's the foundation of most suspension work, and also the tie that demands the most respect. Rope placement here is exactly where nerve injuries happen - in my experience, 3 out of 5 people don't feel comfortable even partially suspended on a regular gote. Please read my honest story about nerve damage in shibari before you go anywhere near this one. Learn it slowly, with a teacher, checking your model's hands constantly.
Chest Harnesses (Diamond, Mermaid, Candelabra & Friends)
My personal joy! A chest harness focuses on the chest area only - no hips, no arms - and it's where creativity explodes: the diamond harness, the mermaid, the candelabra, the mountain, the double V... Most are built from the same vocabulary you just learned: nodomes, half hitches, weaving, wraps. I collected 16 chest harness tutorials in one place, so you can binge them properly.
Webs
Freeform, asymmetric, no set pattern - webs follow the body instead of a diagram. This is rope as pure improvisation, and honestly it's some of the most fun you can have with a single rope. No symmetry required!
Strappado
Arms bound behind the back, often raised - dramatic, elegant, and demanding careful attention to shoulder mobility and nerves. Every body is different, so this one is a conversation with your partner as much as a tie. I show 5 strappado variations with step-by-step tutorials - with all the safety talk included.
Matanawa 股縄 (Crotch Rope)
Exactly what it sounds like - rope passing between the legs. Simple to tie, intense to feel, and deserving of its own conversation about sensation and consent, which is why it has its own article.
Words You'll Hear Around These Ties
Newaza 寝技 - floor work. Where everyone should live for a long time before dreaming of the air!
Tsuri 吊り - suspension. Beautiful, advanced, and NOT a beginner goal. (Suspension looks and feels great if done right, but it's not where you start.)
Ichinawa / Ipponnawa 一縄・一本縄 - one-rope technique. A whole session with a single rope, built mostly on the single column tie and pure presence. Proof that connection beats complexity.
Shibarite 縛り手 / Shibariuke 縛り受け - the one who ties, and the one who receives. Literally 'shibari hand' and 'shibari receiver'. Remember: rope bunny = partner, not prop.
How to Actually Learn These (Not Just Name Them)
Here's the thing about glossaries: knowing the name of a knot is like knowing the name of a dance. The rope has to get into your hands.
My advice, the same I give every student:
Start with the single column tie. Practice it until it's boring. Then practice more.
Keep your safety scissors nearby - always, even for 'easy' ties.
Two fingers between rope and skin. If something tingles or goes numb - free it up!
Stay on the floor. The TK and suspension will still be there when you're ready.
Tie for the feeling, not for the photo. Your model's breath matters more than your pattern.
And if you want a structured path instead of hunting knots one by one across the internet, my Shibari Discovery course walks you through the essential knots and safety principles step by step - it's exactly the foundation this glossary is built on.
Happy tying, my knotty friends! ❤️

Written by
Anastasia
I feel that it's time to share my approach to shibari with you! I have been discovering shibari for myself for 6 years, constantly learning and developing my own style.